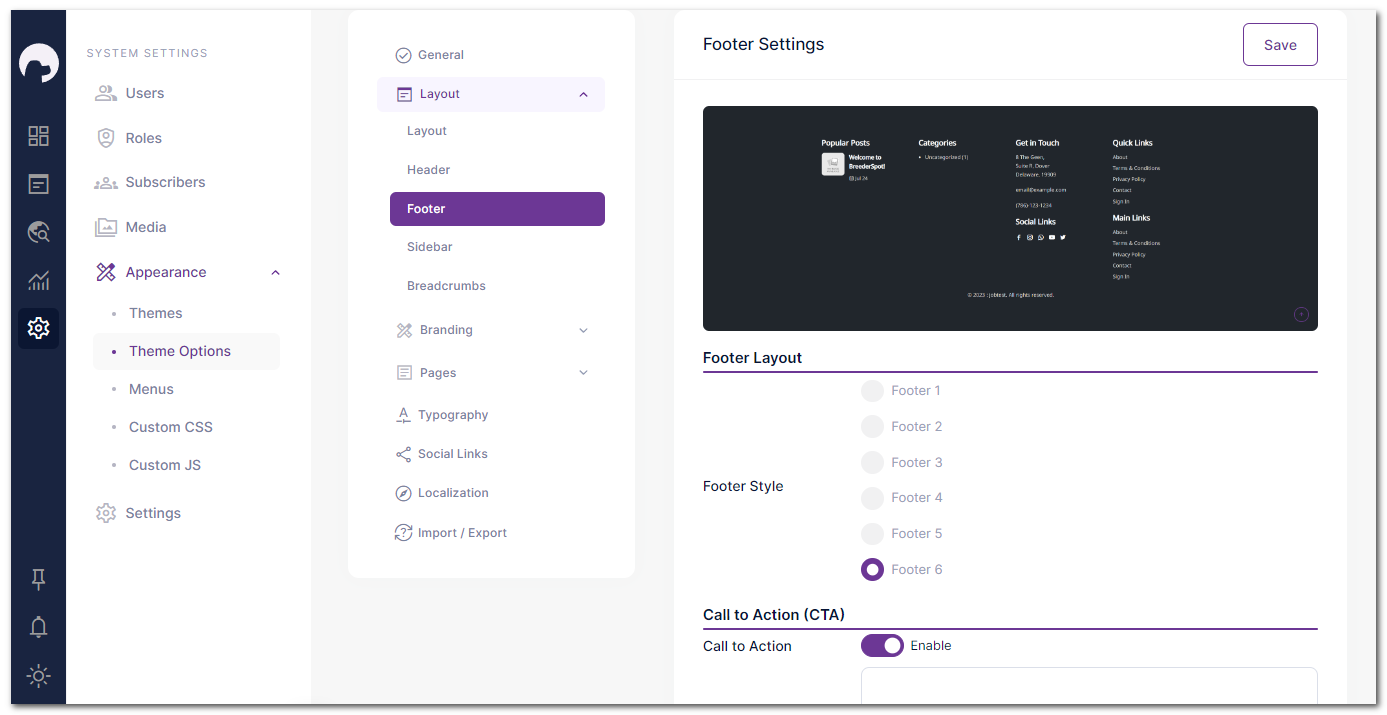
To customize the footer, follow this path: "System Settings" > "Appearance" > "Theme Options" > "Layout" > "Footer.""
Step 1: Choose a footer style that best suits your website's sections, such as menu info, call-to-action, and logo.
Step 2: If you select Footer 2 or Footer 5, you can add a custom message to the Call-to-Action (CTA) section.
Step 3: Customize your footer logo. You can use this option to display a white logo, which is sometimes required in the footer.
Step 4: Add your contact information, including address, mobile, and email. This option is available in all footer styles.
Step 5: Create the menu from the "Appearance" > "Menu" section, and then select the desired menu to display in the footer from the "Footer Navigations" option in the footer customization section.
Step 6: In the footer customization section, you can change the copyright text(Text One) to make it relevant to your website.
Step 7: If needed, you can add additional text(Text 2) below the copyright text, such as legal disclaimers or additional information.
Step 8: Save your settings, and your fully customized footer will now be displayed on your website.
By following these simple steps, you can create a personalized and professional footer that enhances your website's overall appearance and functionality.
